PassGrade
Lightroom and Photoshop-style grading for your renders, right in Blender's compositor.
A complete grading tool, not a preset pack: develop sliders, local masks (including masks taken straight from your render passes) and a Photoshop-style layer stack, in a full-window grading room. Every grade is built from native compositor nodes, so your renders look the same on machines without the add-on.
The PassGrade room, a full window inside Blender with the live compositor result. Esc puts your layout back. The same settings are also in the sidebar and the node editor.
One render, graded two ways
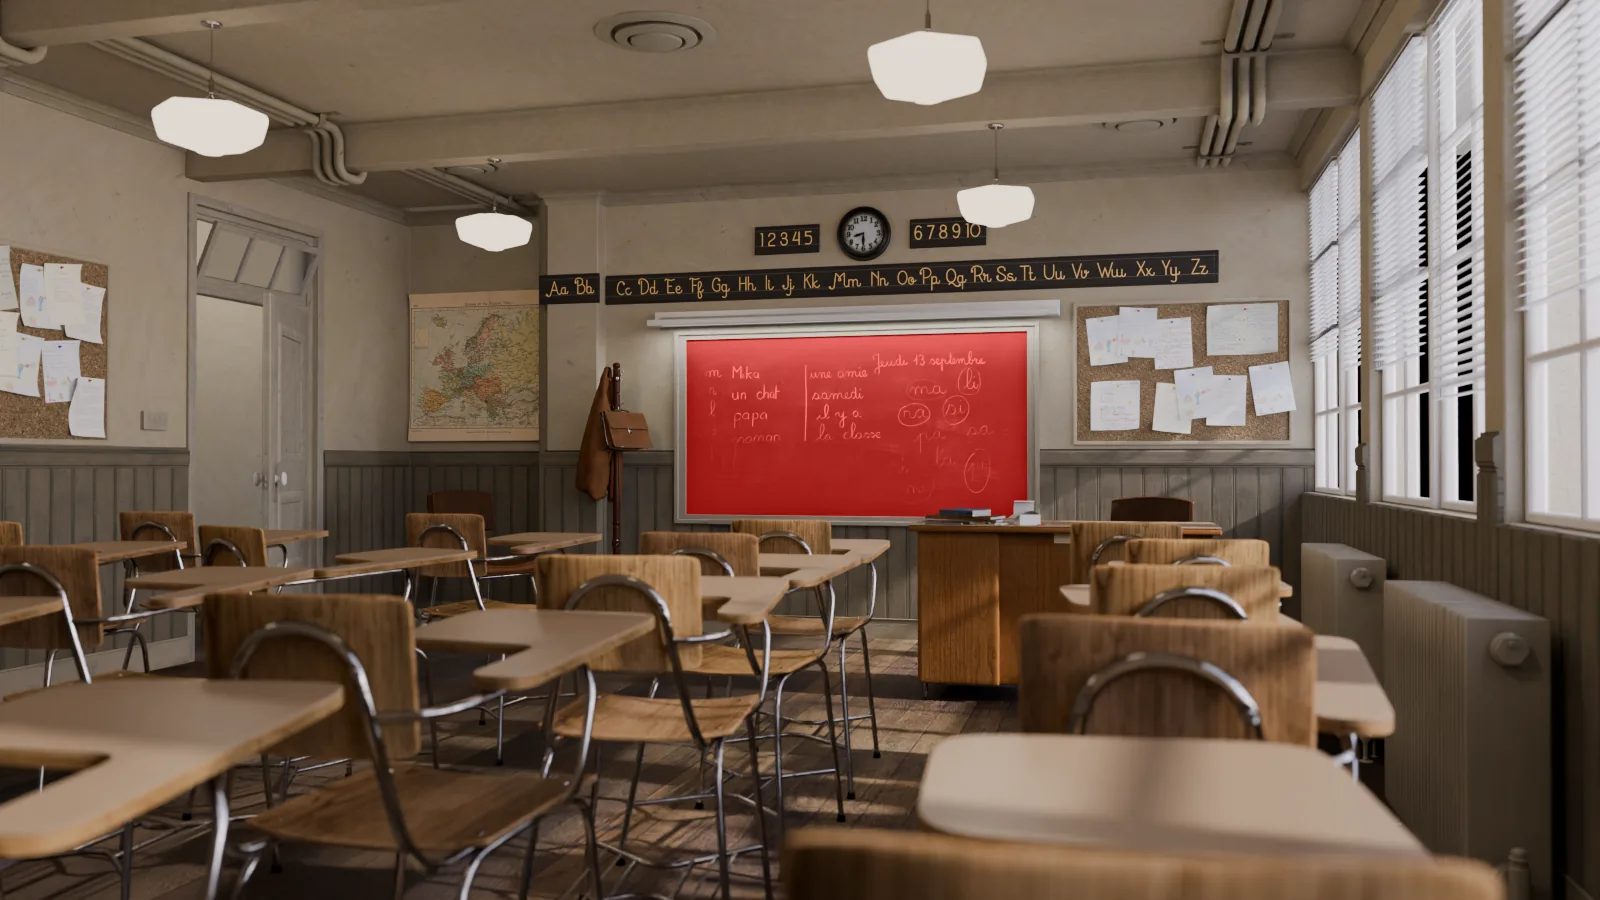
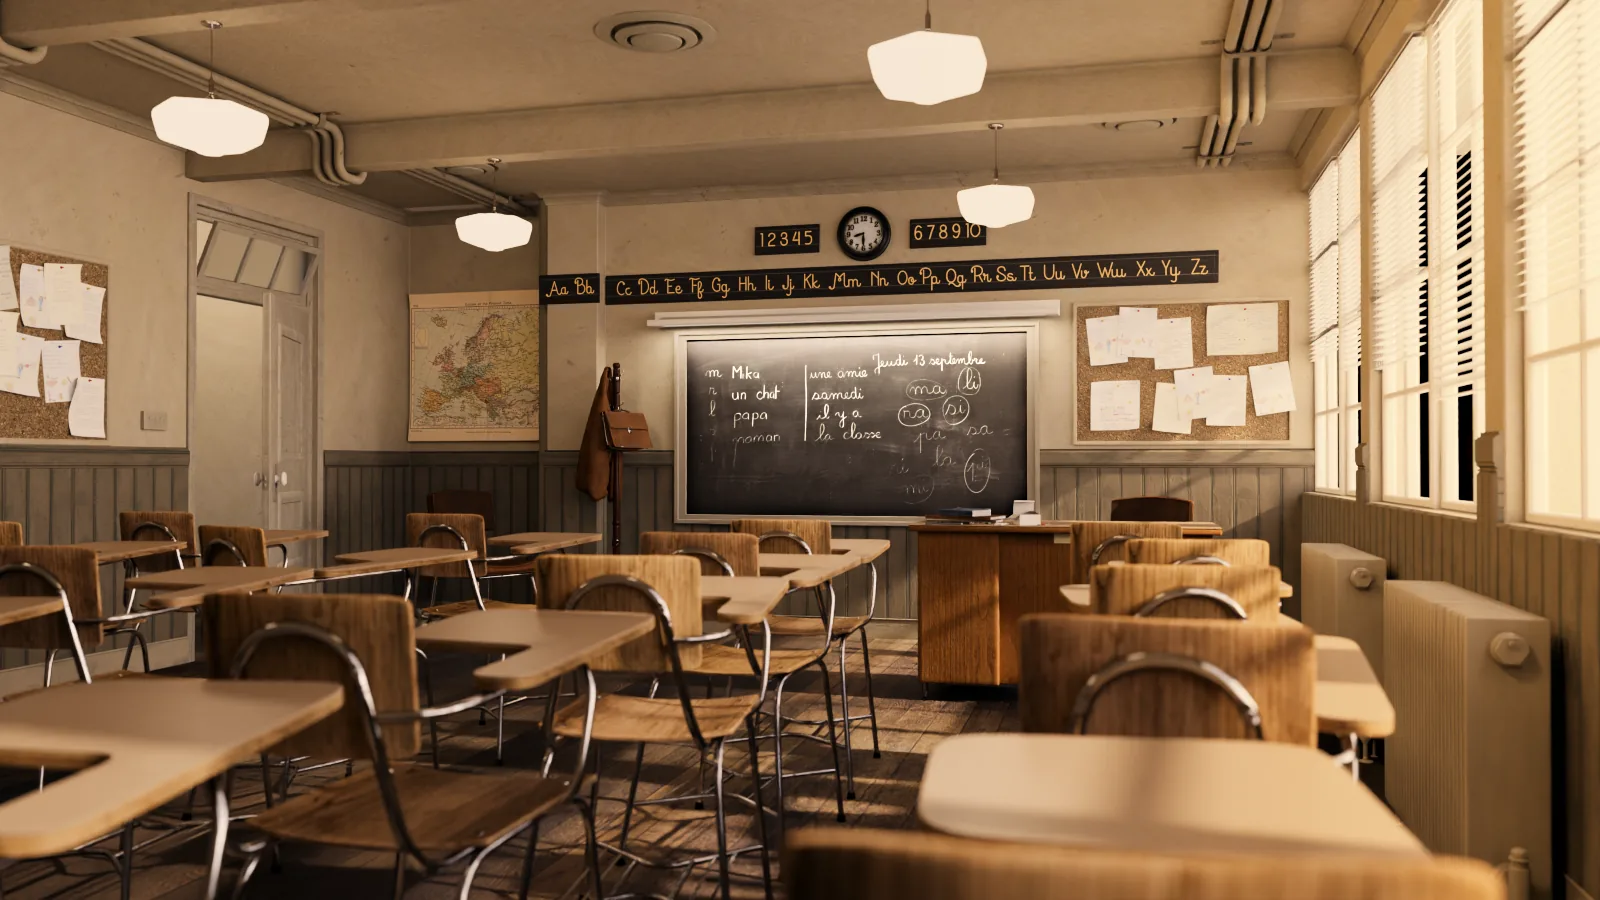
No re-render: the same Classroom frame, graded in the room. Drag the line to compare.
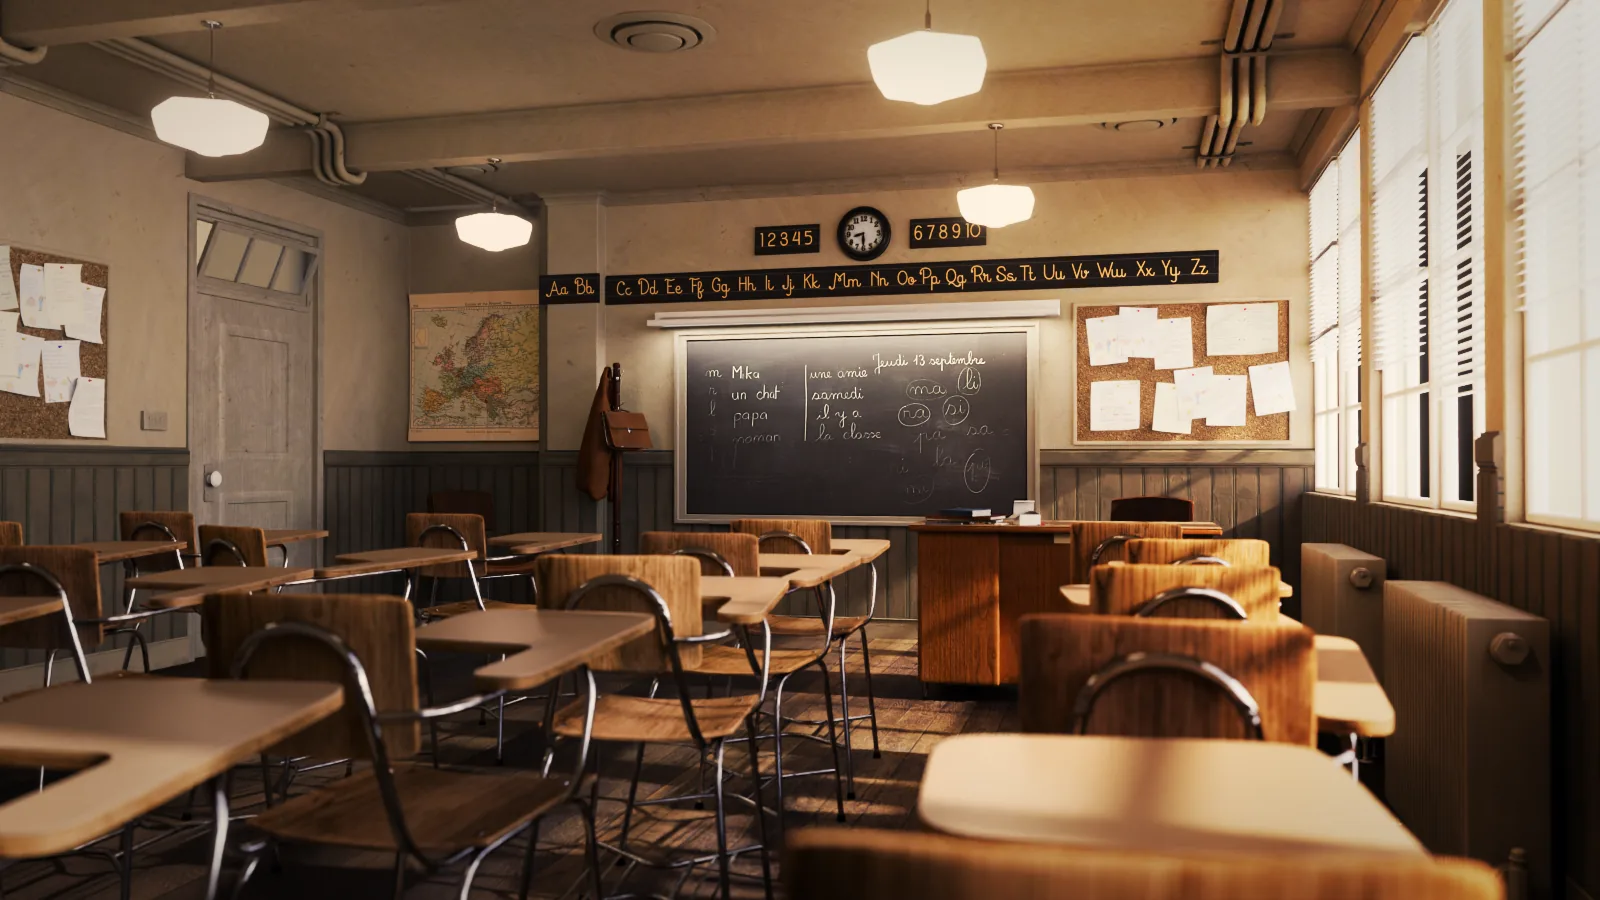
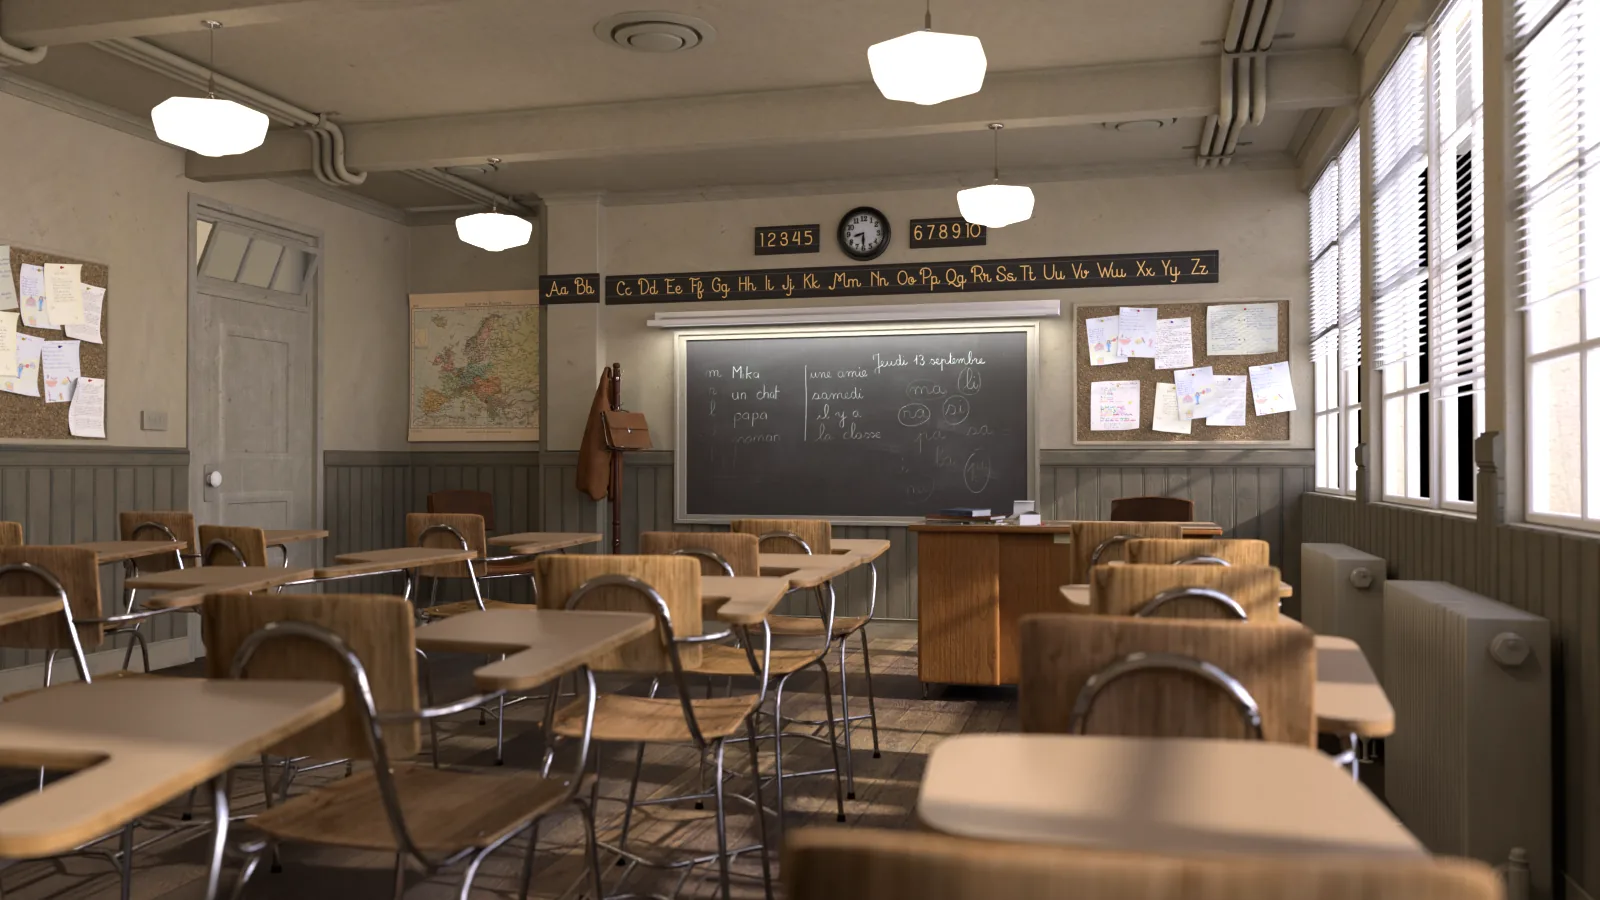 As renderedPassGrade
Cinematic. A warmer white balance, recovered windows, and teal shadows with warm highlights. Masked layers add light through the windows (gradient, Overlay) and lift the desk tops, the chalkboard and the lamps (object masks).
Night. A cold 4000 K white balance and crushed shadows. Gradient fills in Multiply and Overlay darken and tint the room, a painted Solid Color layer in Add brings in blue moonlight, and masked exposure lifts the view outside (background mask) and the light falling in (gradient).
Start from a look
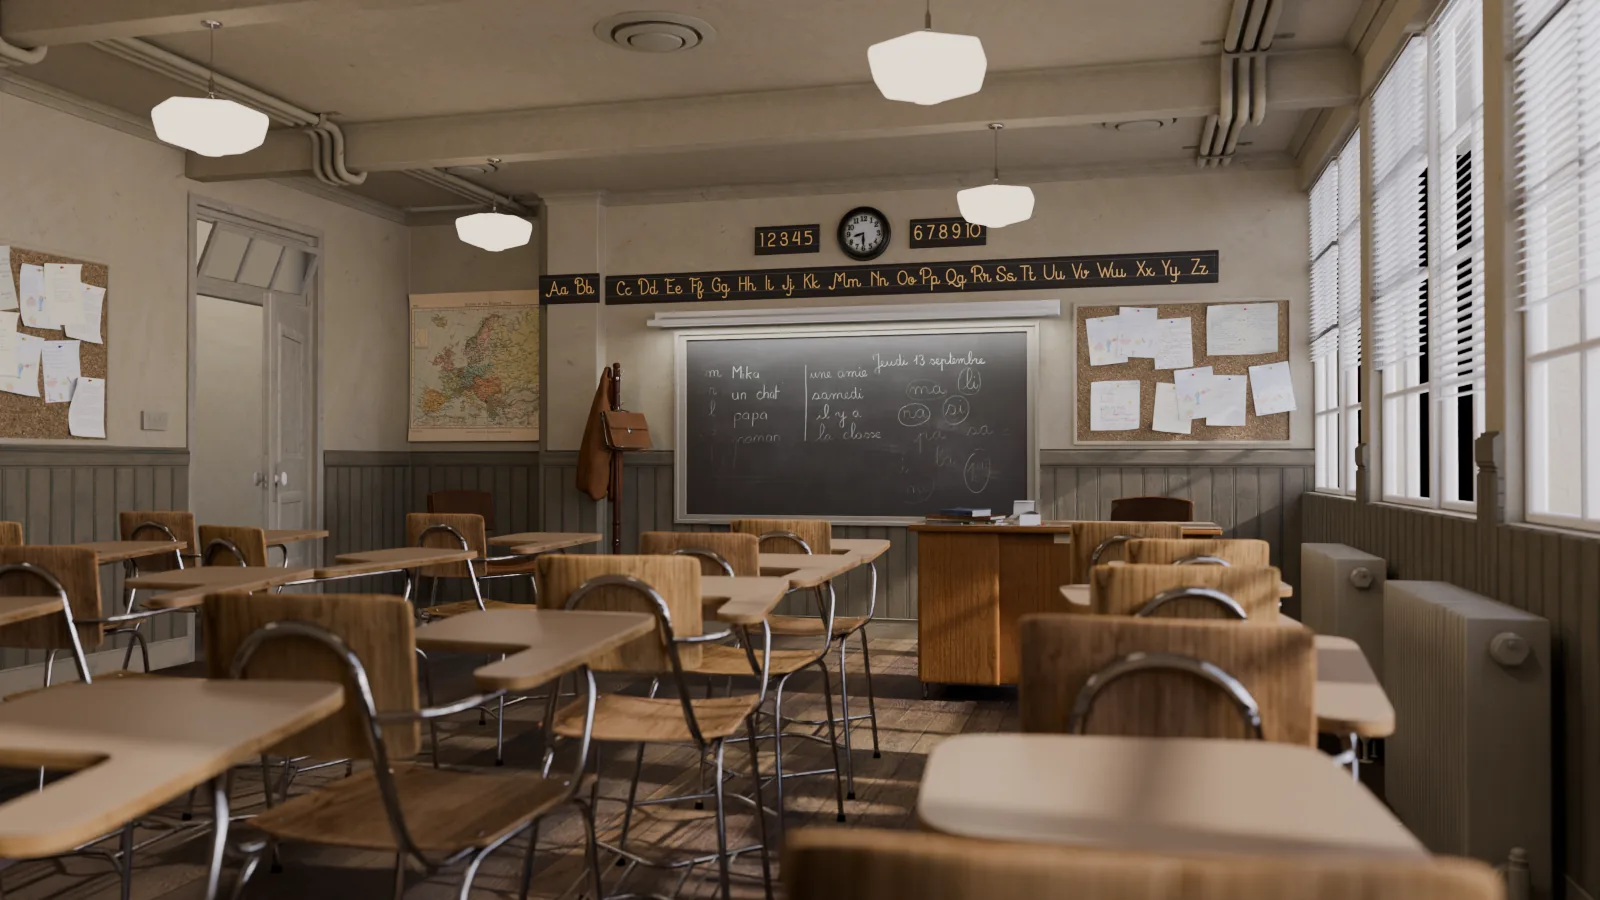
12 built-in looks, your own presets and Lightroom .xmp presets, plus filter layers. Pick one below. Press and hold the image to see it without the look.
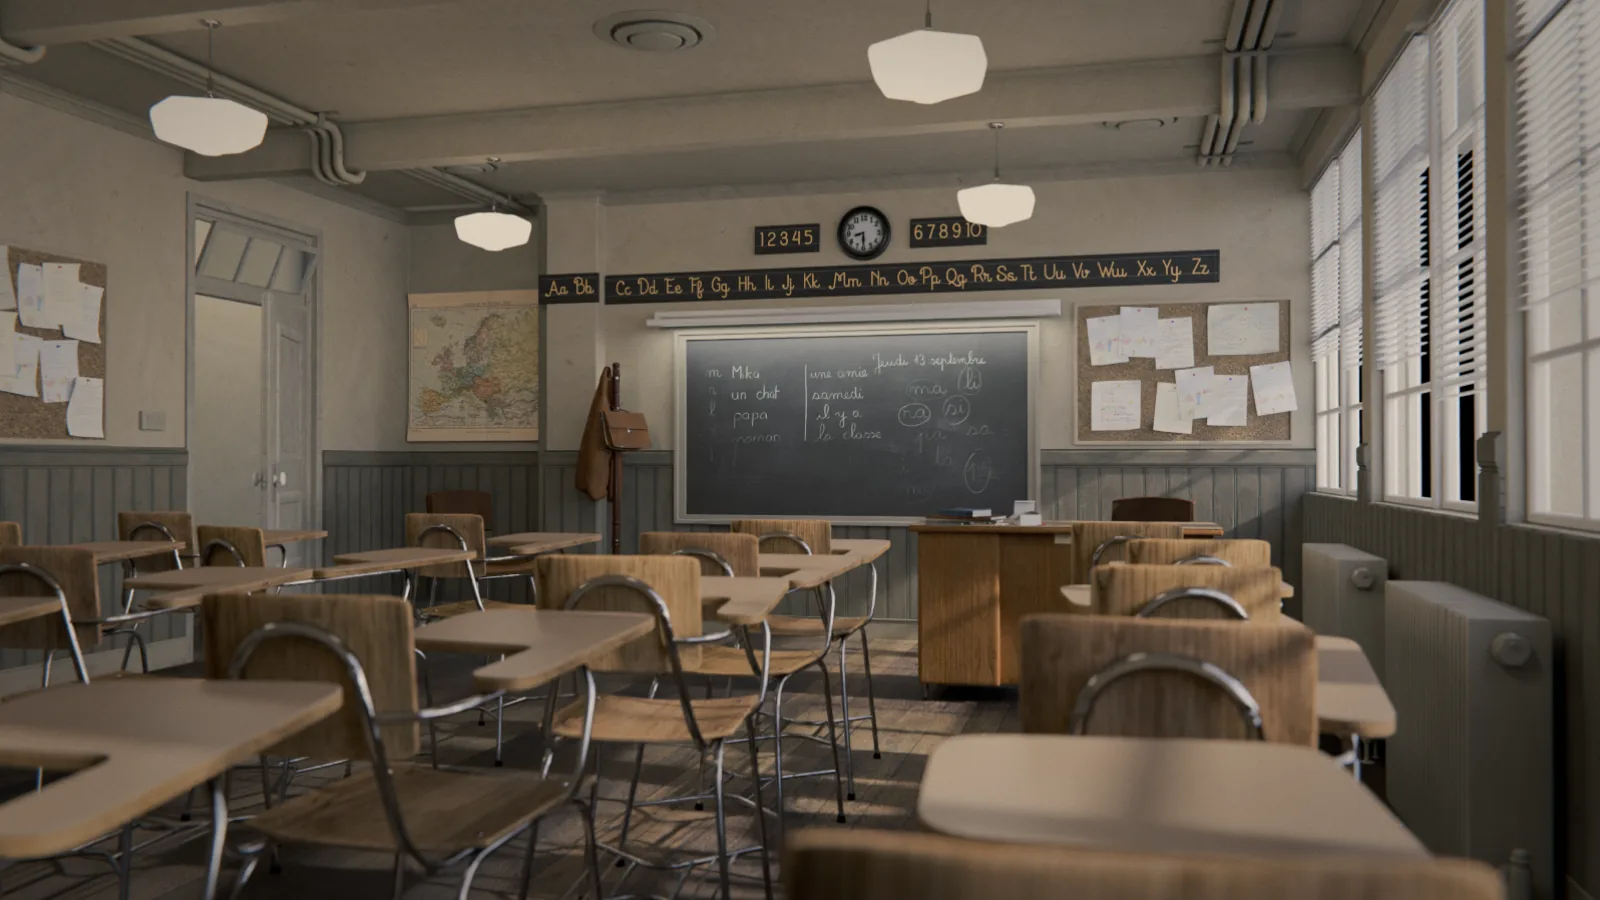 Cinematic
Mask any object with a click
Click an object in the image, or add the objects you selected in the viewport: PassGrade masks exactly that object, using your render's own Cryptomatte pass. PassGrade turns the pass on for you.
- Click itPick objects on the image, or press + Selected for the ones selected in Blender
- Exact edgesThe object's real outline, anti-aliased, without what's hidden behind other things
- Every frameRecomputed per frame, so the mask follows moving objects and cameras
Not a whole object? Use materials or depth from the render, draw gradients or a brush, or select by brightness or color. Pick one below.
 Objects
From the render
Objects
From the render
Stack it like Photoshop
14 layer types and 19 blend modes, each layer with its own opacity and mask. Switch the layers on and off.
- Adjustments: Local Adjustment, Curves, Hue / Saturation, Color Balance, Black & White, Photo Filter, Gradient Map
- Fills: Solid Color, Gradient Fill, Image (light leaks, textures, logos)
- Filters: Blur (tilt-shift, background blur), Invert, Posterize, Threshold
- Blend modes: Normal, Darken, Multiply, Color Burn, Lighten, Screen, Color Dodge, Add, Overlay, Soft Light, Linear Light, Difference, Exclusion, Subtract, Divide, Hue, Saturation, Color, Luminosity
- Duplicate, reorder, hide, rename
Works on animation, too
The grade is part of the compositor, so it renders on every frame. Keyframe any slider, and masks from render passes follow moving objects and cameras.
Everything a photo editor has, for renders
- White balance: Temperature in kelvin (2000–20000 K), Tint
- Tone: Exposure, Contrast, Highlights, Shadows, Whites, Blacks
- Adapt to This Image: shadows and highlights are found relative to the render, so they work on bright and dark scenes alike (switch off for animations whose brightness changes a lot)
- Presence: Texture, Clarity, Dehaze, Vibrance, Saturation
- Profile: AgX, Filmic, Khronos PBR Neutral, ACES, Standard, and their looks
- Photo or Scene-referred pipeline: exact Lightroom behavior, or keep Blender's view transform for EXR / VFX
- Tone Curve: point curve for RGB, Red, Green, Blue, over the histogram
- Parametric curve: Highlights, Lights, Darks, Shadows
- Color Mixer (HSL): Red, Orange, Yellow, Green, Aqua, Blue, Purple, Magenta, each with Hue, Saturation, Luminance
- Color Grading: Shadows, Midtones, Highlights and Global wheels with luminance, plus Blending and Balance
- Detail: Sharpening with Radius and Masking, Noise Reduction
- Optics: Distortion, Chromatic Aberration
- Vignette: Amount, Midpoint, Roundness, Feather, Highlights
- Grain: Amount, Size, Roughness (changes every frame)
- Bloom: Amount, Threshold, Size
- From the render: Objects and Materials (Cryptomatte, pick on the image), Depth Range, Object Index, Background
- Drawn: Linear and Radial gradients with on-image handles, Brush (paint and erase, size, hardness, flow)
- Ranges: Luminance Range, Color Range (pick on the image)
- Image: any image as a mask
- Combine parts with Add, Subtract, Intersect; per layer Density, Feather, Invert; red overlay view
- 12 looks: Clean Bright, Product Pop, Warm Film, Teal & Orange, Cinematic, Moody, Golden Hour, Cool Night, Matte Fade, Vintage, Bleach Bypass, B&W Contrast
- Your presets: save your develop settings; they stay through updates
- Lightroom / Camera Raw .xmp import: basic tone, presence, curves, HSL, color grading, detail, effects (unmapped settings are listed)
- History: every edit, with undo and redo
- Copy the grade to other scenes; reset per panel
- Views: Before, Split, Mask overlay, Fit, 1:1, hide panels
Just compositor nodes
PassGrade writes the grade as ordinary nodes in your scene's compositor. The add-on is the editor, not the renderer.
Renders without the add-on
Render farms and other machines need nothing installed. Frames come out identical.
Fits your compositor
It goes in front of your output and keeps the nodes you already have. Remove it and your tree is back as it was.
Made for animation
Keyframe any slider. Masks from render passes follow moving objects, and grain changes every frame.
Fast and safe
Previews on the GPU compositor; untouched panels switch themselves off. Older files and presets upgrade automatically.
Specs & questions
- Blender
- 5.2 LTS or newer
- Render engines
- Cycles, EEVEE, Workbench: anything that renders through the compositor
- Systems
- One pure-Python package for Windows, macOS and Linux (tested on Windows and macOS)
- GPU
- OpenGL, Vulkan and Metal for the room; GPU or CPU for the compositor
- Render farms
- Render with the same or a newer Blender than the one you graded in
- License
- GPL-3.0-or-later
Does it change my scene?
It adds one node group before your compositor output. In the Photo pipeline your view transform (AgX, Filmic…) moves inside the grade and the scene view is set to Standard, so curves and blend modes behave exactly like in Lightroom. Switch to Scene-referred to keep Blender's view transform.
Do I need special render passes?
Only for masks from the render. Adding an Objects, Materials, Depth or Index mask turns on the pass it needs; render once more and the mask is there. Objects and Materials need Cycles or EEVEE, Object Index needs Cycles.
Can I use my Lightroom presets?
Yes: import a Lightroom or Camera Raw .xmp. PassGrade maps the settings it can and tells you how many it skipped.
Render first, then press PassGrade
- InstallEdit › Preferences › Get Extensions, open the drop-down at the top right, choose Install from Disk… and pick the PassGrade zip. Or drag the zip into Blender.
- RenderPress F12 as usual. PassGrade grades what your render puts out, so render first.
- Press PassGradeThe button is in the header of the render window (below). It is also in the Compositor's header and under Render › Open PassGrade.
- Grade, then DoneDevelop on the right, Layers & Masks next to it. Done or Esc puts your layout back. The grade is saved in your .blend as compositor nodes, so every render from now on, stills and animations, comes out graded.
